Below: The Space Marine scouts bring their rifles to bear on the Riptide, who is already aiming back and spinning up its heavy burst cannon.
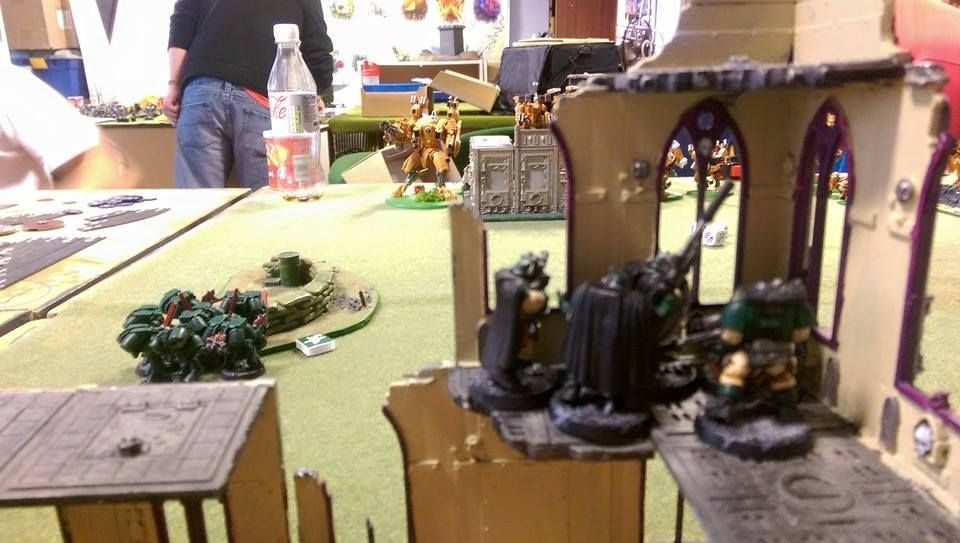 Dark Angels turn 1
My opponent rolled a warlord trait that allowed him to infiltrate his HQ and some units. He infiltrated his Chaplain and 2 units of assault marines into my left flank, behind a ruined building. His drop pod comes in behind a ruined building in my centre field without scattering and it unloads 2 combat squads. A rhino tank moves flat out an stops beside the drop pod. Aware of the missile armed broadsides, the Chaplain leads his squad into the ruin on my left flank. The scout snipers on my right flank shoot at the Iontide in my centre field and fail to wound it. A combat squad that had arrived in the drop pod rapid fire their bolters at the squadron of piranha in my centre field and barely scratch the paint. The multimelta in the other combat squad was more successful and scored a penetrating hit, causing the piranha to blow up. The explosion failed to inflict and casualties on the nearby squads. A whirlwind in my opponents backfield launched a barrage of missiles on my broadsides that were out in the open, the missiles miss their target and hit another unit of broadsides who save the wounds. The iontide is hit by krak missiles from the ruin which fail to inflict any wounds. The rest of the devastator squad unleash a barrage of fire from the las cannons and cause 4 wounds on the iontide who's Feel no pain saves 2 wounds, the other 2 go through. The infiltrated combat squads take cover behind the ruin.
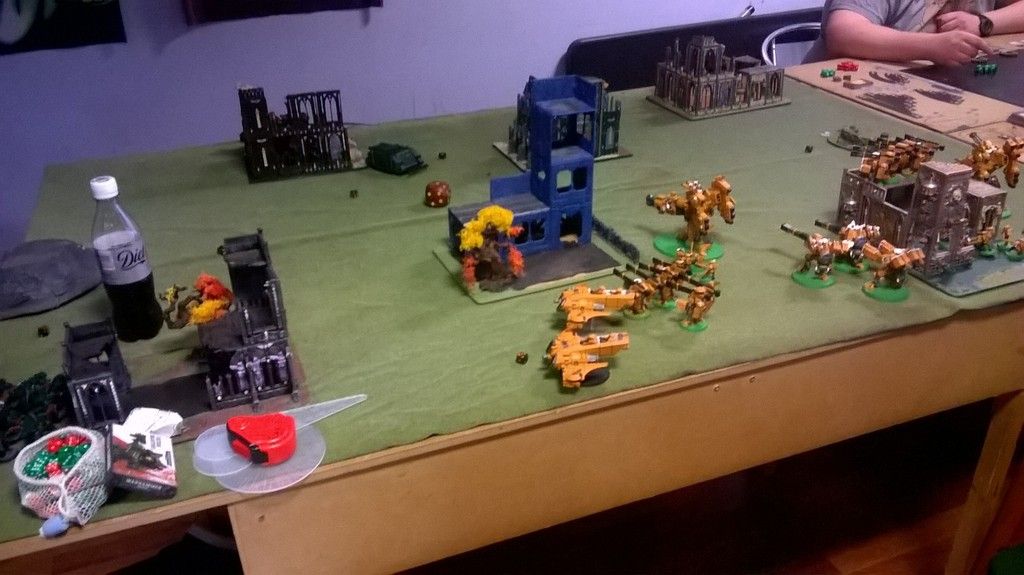 End of Dark Angels turn 1
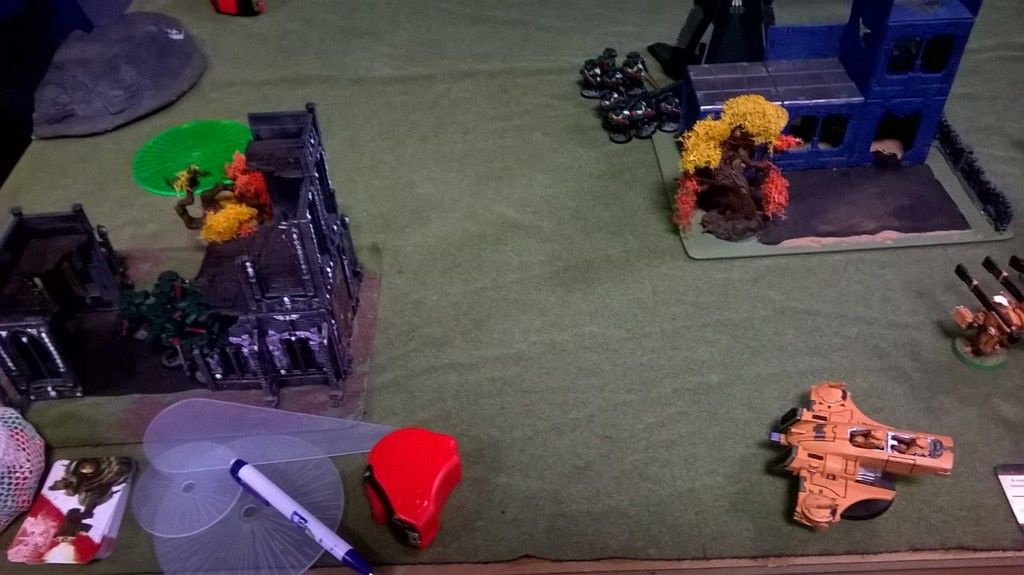 Tau turn 2
My surviving piranha moves flatout up my left flank towards the uncontested objective. The broadsides in my centre field move to the left to remove get a better shot at the combat squad that came out of the drop pod behind the ruin. The firewarriors holding the objective in my centre field rapid fire their pulse rifles through the building and kill 3 marines. Split firing from the rest of the unit the broadside armed with high yield and smart missiles kill the marine that destroyed the piranha. The two broadsides in that unit shoot at the assault squad in my opponents left flank and kill 2 of them in the ruins. The broadsides that moved out to shoot the combat squad kills the surviving member of the combat squad. The broadsides in the ruin on my right flank open fire at the lascannon team in my opponents centrefield that had wounded the riptide. The riptide in my centrefield rapid fires its plasma rifle into the rhino and blows it up. I jump the riptides back into cover to avoid getting torn to pieces by lascannon and missiles. End of turn 1
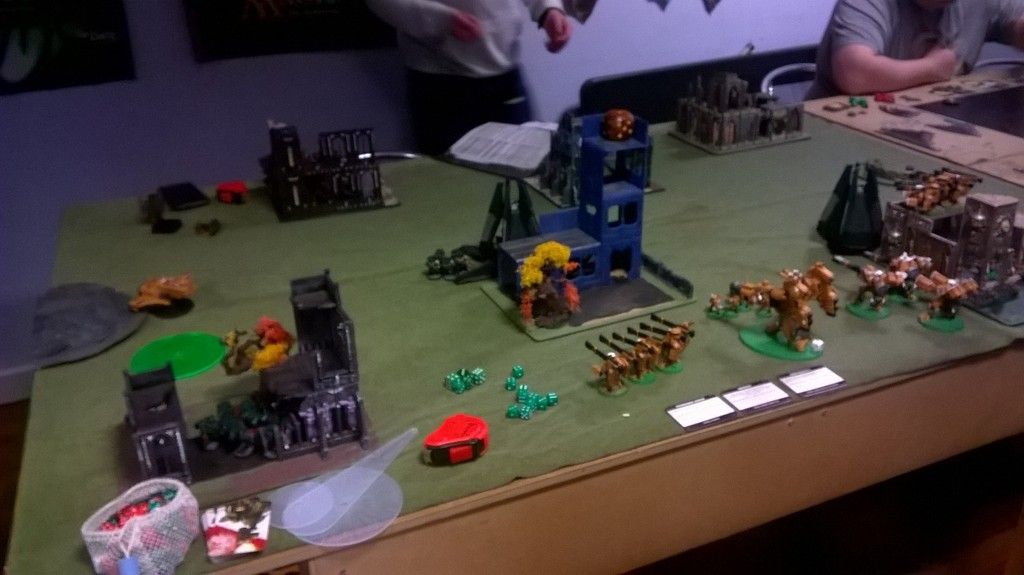 Dark Angels turn 2
My opponent's remaining drop pod attempts to come in and mishaps and goes back into reserves (we later find out that the drop pod should be placed in the direction of the scatter but not on the unit that caused it to mishap). Not risking his terminators mishaping my opponent deploys them close to the drop pod, using the ruin as cover. I decide not to shoot at them as I want to save my shooting for my turn. The Chaplain and his assault squads jump out of the ruin and move close to the broadsides. My opponents psyker roles doubles and suffers one wound. The remaining combat squad and the terminators shoot at the iontide and it saves all wounds. The piranha that had moved flat out becomes a bullet magnet and takes 2 hits but saves both thanks to jink and the disruption pods. One broadside close to the assault squads gets cut to shreds by stormbolter fire. As a result of rolling perils the missile devastator squad snap fires at the piranha and fails to damage it. The drop pod shoots at the broadsides in my right flank and takes one wound off the nearest suit. In the assault phase support fire from the fire warriors kills 2 assault marines, the iontide and broadsides fail to wound anything in support fire and overwatch. The surviving assault marines and chaplain get into close combat and wipe out the unit of broadsides. They then consolidate into the ruins to take cover.
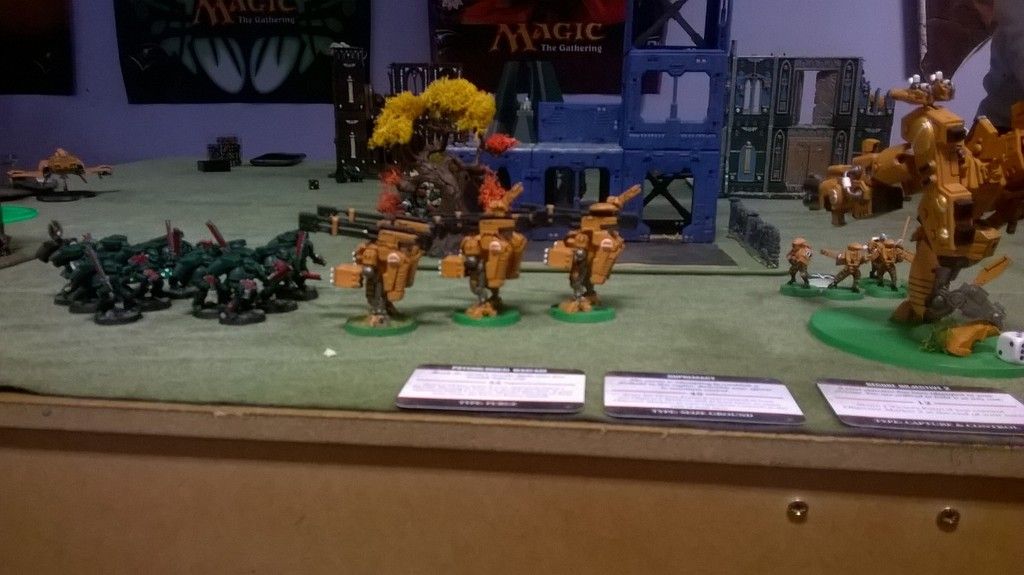 Tau turn 2
I roll really well for my reserves and everything but my firewarriors come in. The barracuda comes on my right flank, ready to strafe the terminators and combat squad behind the drop pod. Shadowsun and her bodyguard deep strike close to the unit of terminators. The crisis suit commander and his bodyguard walks on in my centre field. The riptide on my right flank moves up into open ground and I do not nova charge. The other riptide nova charges and I take the ripple fire option. I move the iontide into a better position to shoot at the terminators. In the shooting phase the commander kills 2 assault marines with plasma fire and another two with the cyclic ion blaster. His bodyguard kills 2 more marines with its fusion blasters. The fire warriors on the objective kill 2 more marines with rapid firing pulse weapons. The iontide kills another assault marine and puts a wound on the chaplain. The Barracuda uses the ion cannon blast and kills 1 marine and fails to wound 7 terminators. Shadowsun wounds the chaplain and her unit kills 2 terminators with plasma and fusion fire. The broadside with missiles split fires and kills 2 more assault marines and the two heavy rail rifles finish off the chaplain. The riptide on my right flank fires its heavy burst cannon into the ruin on my right flank and kills 2 assault marines. The broadsides on the ruined building shred the rest of the unit with railgun and missile fire. Shadowsun and her bodyguards move into cover in the ruined building in my left flank.
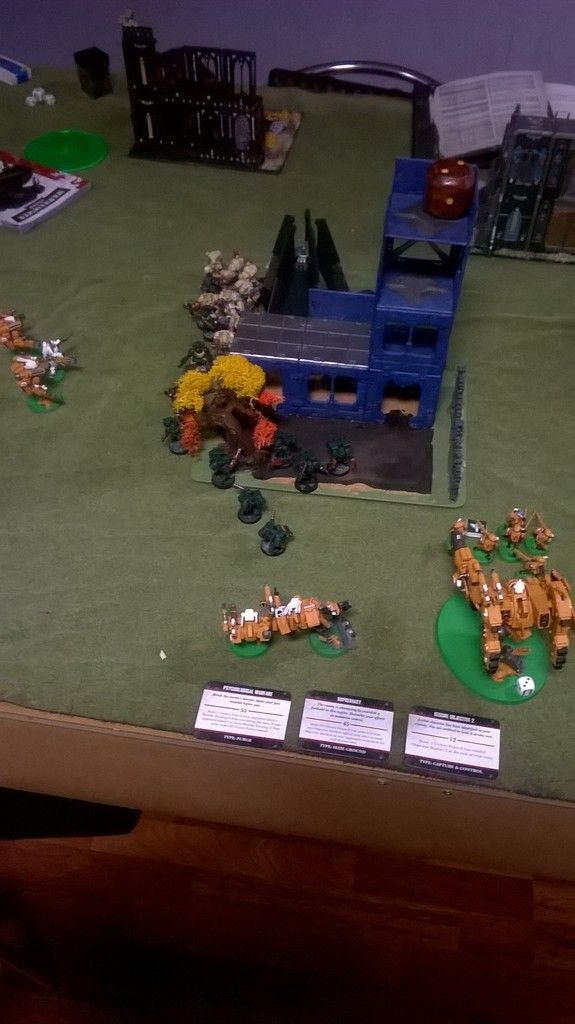 Top of turn 3
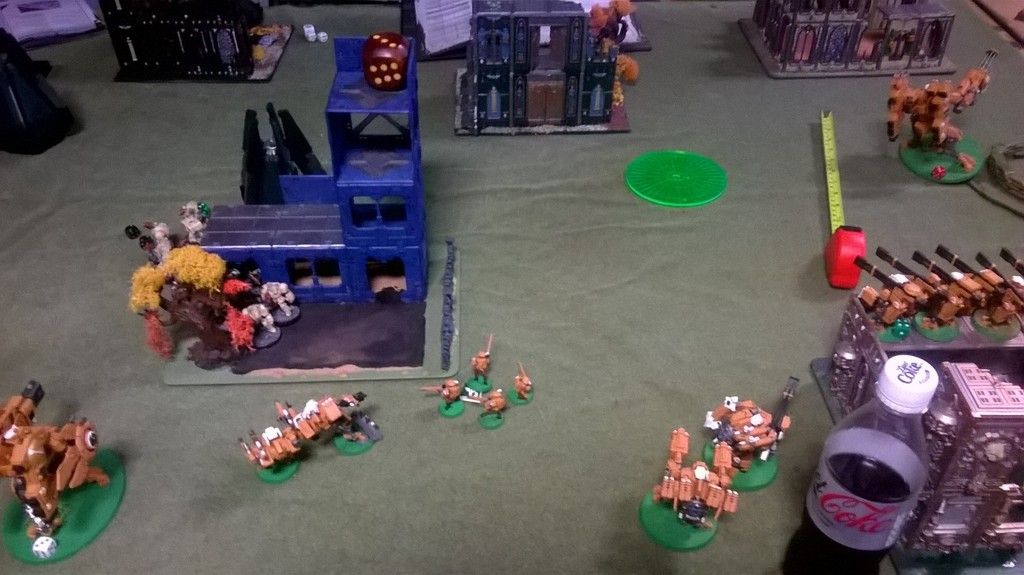 Dark Angels turn 3
After a devastating round of fire the dark angels drop pod comes in near the piranha and the combat squads gets out. The surviving terminators move through the ruin and get closer to the iontide. The psyker roles perils again and dies. The devestator squad shoots at the barracuda and gets 3 penetrating hits with flakk missiles. I forgot to declare jink and the Barracuda crashes to the ground. The terminators shoot at the firewarriors, killing two of them. The drop pod wounds the riptide in the open and the scouts fail to wound it.
Tau turn 3
The riptides move up. Shadowsun and her bodyguard shoot at the terminators from the ruins and the commander and his bodyguard join in, killing all but 1 terminator. The broadsides on the ruins shoot at the whirlwind in my opponents deployment zone blowing it up.
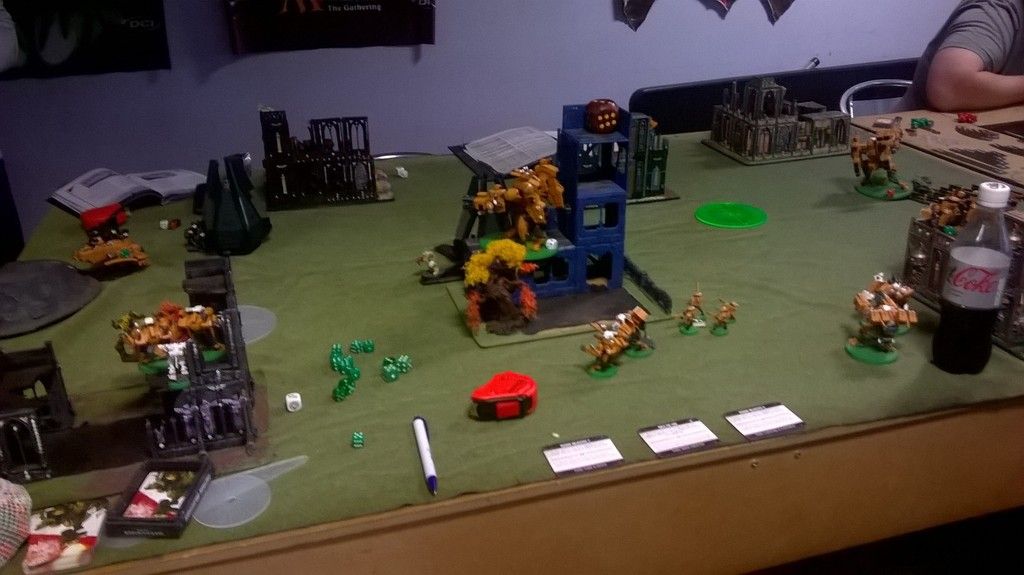 Dark Angels turn 4
The terminators move up to assault the iontide on the ruin. The combat squads that came out of the drop pod flank the piranha to shoot at the weaker side and rear armour. The scout snipers aim at the riptide in the open and cause one wound but I roll luckily with the feel no pain and ignore the wound. One of the combat squads shoot at the piranha and fail to damage it. The other squad shoots at Shadowsun and her bodyguards in the ruin on my left flank ad fail to cause any wounds. The marine in the ruins shoot at the firewarriors who role luckily with their armor saves. The lascannons in the ruins aim at the iontide and cause 2 wounds, one wound goes through the other is saved with feel no pain. The missiles shoot at the same riptide and fail to wound. In the assault phase the terminator attacks the iontide and and causes a wound that is ignored with feel no pain. The riptide strikes back and pulverizes the terminator.
Tau turn 4
The riptide on my right flank nova charges and gets to fire the secondary weapon twice. Every other unit stays in the same place. I don't move the iontide because of the threat from the lascannons and missiles. Pulse fire from the surviving firewarriors kill the last marine in the ruin in my centre field, freeing up the objective behind the ruin. Shadowsun takes aim the drop pod behind the ruin and blows it to pieces. The riptide on my right flank shoots its weapons at the scouts in the ruin and kills one scout with the missiles and another one is shredded by pulse fire. The broadsides on the ruin kill the remaining scouts with missiles. The other unit of broadsides kills one lascannon-armed devastator in the ruins.
Dark Angels turn 5
The two combat squads move up towards the piranha and the objective. A krak grenade is thrown at the piranha and blows it up. The other combat squad shoots at shadowsun who is saved by the ruined wall. Both the lascannons and missile launchers let rip at iontide and FNP saves the day for the riptide.
Tau turn 5
Sensing victory I move the Iontide up for line breaker, the Commander and his bodyguard move up to the vacated objective and capture it. Shadowsun's bodyguard kill a marine with plasma fire. The iontide kills a devastator in cover and the broadsides on the ruin kill another devastator.
Tau win 13-6 MVP - Shadowsun, her bodyguard and the Commander and his bodyguard who in turn two nearly single handedly dismantled the dark angels. The Barracuda was underwhelming in this game by only killing 1 marine and failing to injure 7 terminators with the large ion blast. Conclusion This is my third time using this list and it hasn't been beaten yet. I think it is perfect for taking on an infantry heavy list e.g. Space Marines. Going second in this game allowed me to react to my opponents movements and target units that were major threats. I was lucky with the reserves coming in on turn 2 as the combined fire from the different units on the ruins killed a serious amount of threats to my list. I was reluctant in spreading my forces out to much early in the game because I knew my opponent was had deep striking combat squads and fast moving assault squads. Going forward with this list I might drop the barracuda and bring marker lights. Background story Sensing the tables were turning drastically against them the surviving Dark Angel sergeants ordered the remaining brethren to retreat and regroup. As the night fell the broadsides redeployed to the highground and long range sensors scanned the horizon for more incursions but none came, the Dark Angels had been defeated. Commander Shadowsun surveyed her forces and analysed the battle and was pleased that she had only lost a few units and had torn the dark angel force to pieces.
YoBit lets you to claim FREE COINS from over 100 different crypto-currencies, you complete a captcha once and claim as much as coins you want from the available offers.
ReplyDeleteAfter you make about 20-30 claims, you complete the captcha and continue claiming.
You can press claim as much as 30 times per one captcha.
The coins will stored in your account, and you can convert them to Bitcoins or USD.